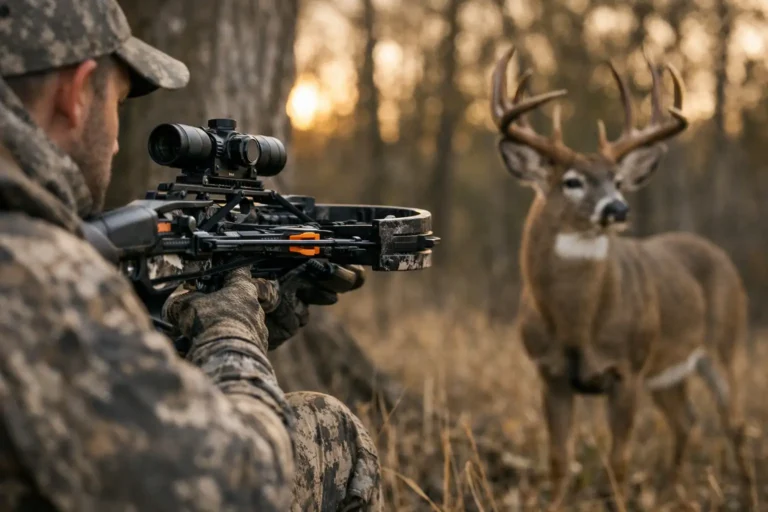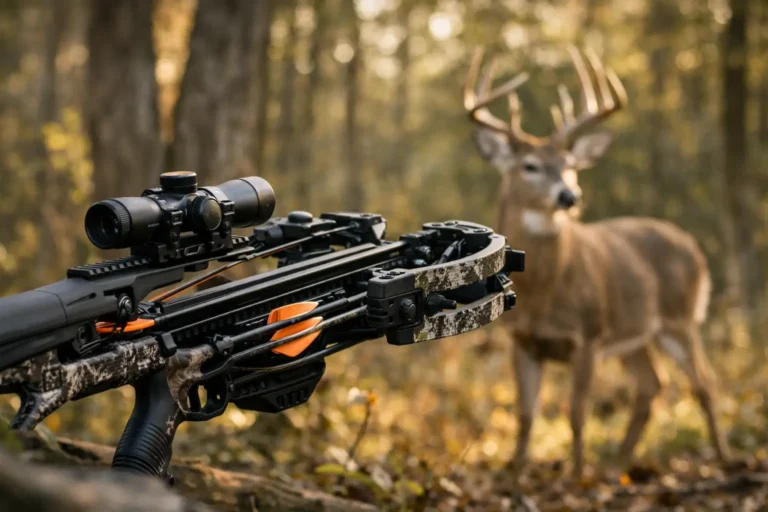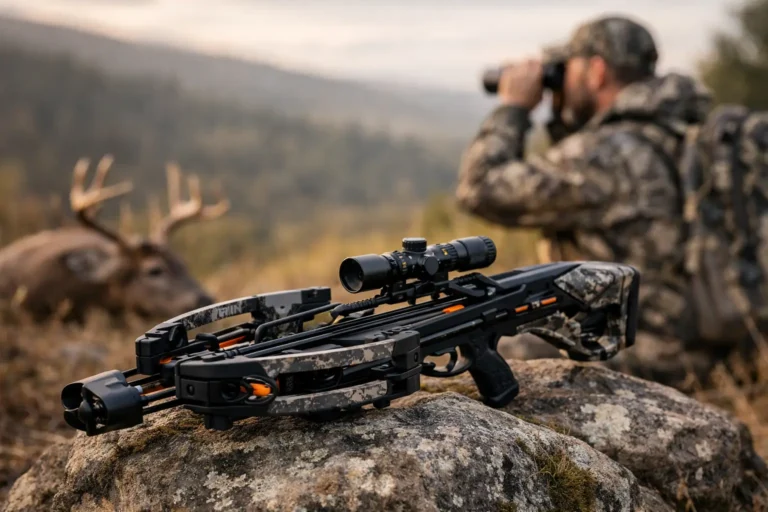
Ravin R50 Setup Guide for Your First Range Day
A crossbow can look ready to hunt straight out of the box and still be one loose fastener or poorly zeroed optic away from a frustrating range day. This Ravin R50 setup guide covers the work that matters before the season starts: inspection, assembly, safe handling, and a deliberate zero.
The R50 is built for hunters who want Ravin’s compact, performance-focused platform without turning setup into a garage project. That does not mean you should rush it. Take an unhurried first session, use the manufacturer’s manual alongside this guide, and do not fire the crossbow until every part is installed, checked, and understood.
Start With a Clean, Safe Setup Area
Set up the R50 on a stable table or bench with good light. Keep the muzzle area pointed in a safe direction from the moment you open the case. A crossbow is not a toy, and the first day is when new owners are most likely to make simple mistakes: handling it with an arrow loaded, assuming the safety is engaged, or trying to force a part that is not seated correctly.
Before assembly, confirm the package contents against Ravin’s current included-items list and your manual. Packages can vary by retailer or bundle, so do not assume every R50 includes the same accessory combination. You should have the crossbow, supplied arrows, nocks, quiver components, optic or scope components if included, cocking equipment, and the appropriate hardware and tools.
Inspect the limbs, cables, rail, stock, trigger housing, and arrow retention system for damage from shipping. Look for frayed strands, cracked plastic, loose fasteners, deep scrapes, or anything that appears bent. Do not try to shoot through a questionable part. Contact Ravin support or the seller before proceeding if something does not look right.
Ravin R50 Setup Guide: Assemble and Inspect
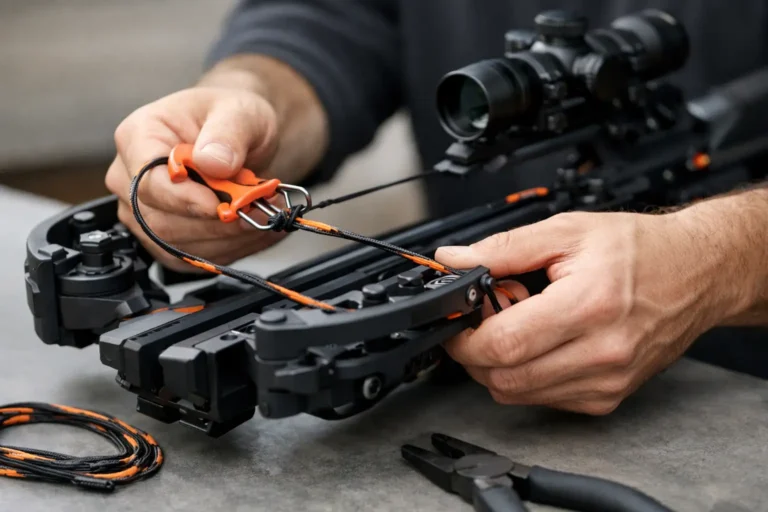
Follow the manual’s assembly order rather than improvising. Install only the factory-supplied hardware where Ravin specifies it, and avoid adding thread locker, oil, or aftermarket parts unless the manufacturer says they are appropriate. The goal is a properly assembled hunting crossbow, not a weekend modification project.
Once the major components are installed, check every screw and mounting point for correct fit. Tight is not always right. Over-tightening scope-ring screws or accessory hardware can damage threads and create problems that are harder to diagnose later. Use the torque values and sequence in the R50 manual if they are provided. If you do not own the right tool, get one before you start guessing.
Attach the quiver according to the manual and make sure it clears the stock, optic, and your normal grip. A quiver that rattles or interferes with movement might not ruin a bench-rest group, but it can be a real nuisance when you are climbing into a stand or moving through brush.
Before cocking, cycle the safety and familiarize yourself with its position and operation while the crossbow is completely unloaded. Learn where the trigger guard, safety, arrow retention system, and cocking controls are without looking. That muscle memory pays off when you are cold, wearing gloves, or focused on a deer instead of the equipment in your hands.
Mount the Optic Without Creating a Zero Problem
If your R50 package includes an optic, mount it level and secure it according to the manufacturer’s directions. Keep the reticle reasonably level with the crossbow. It does not need to win a machinist’s approval, but a visibly canted optic can cause lateral error as distances stretch.
Set the eye relief from the shooting position you will actually use. Shoulder the R50 naturally, with a solid cheek weld, then verify that you get a full, clear sight picture. Do not position the optic based only on how it looks on the rail. A good setup should let you mount the crossbow consistently without moving your head around to find the reticle.
Once mounted, recheck the rings and base after your first few shots. Hardware can settle. This is one reason experienced hunters zero early instead of waiting until the day before opening day.
Cock and Load With a Repeatable Routine
Ravin’s cocking system is designed to make the process controlled, but controlled does not mean casual. Keep fingers, clothing, and gear clear of moving parts. Keep the crossbow aimed in a safe direction. Use the exact cocking procedure in the R50 manual, and stop if the process feels rough, uneven, or abnormal.
After cocking, verify the safety status as instructed by Ravin. Only then should you load a Ravin-approved arrow that matches the R50’s requirements. Inspect each arrow first. Reject any arrow with a damaged shaft, loose or cracked nock, worn fletching, or questionable point. Crossbow arrows take serious stress, and using damaged gear is a bad gamble.
Seat the arrow fully against the string and confirm it is held correctly by the retention system. Never dry-fire the R50. Never place an arrow on the rail until you are on the range or in a legal hunting situation and ready to shoot. When the session is over, follow the manual’s approved unloading or discharge process. Do not take shortcuts simply because the crossbow is cocked and you want to pack up.
Zero the R50 at the Range, Not in the Woods
Use a purpose-built crossbow target that is rated for the R50’s performance level. Some targets are difficult to remove arrows from, while others can be damaged by high-energy crossbows. Read the target rating before the first shot.
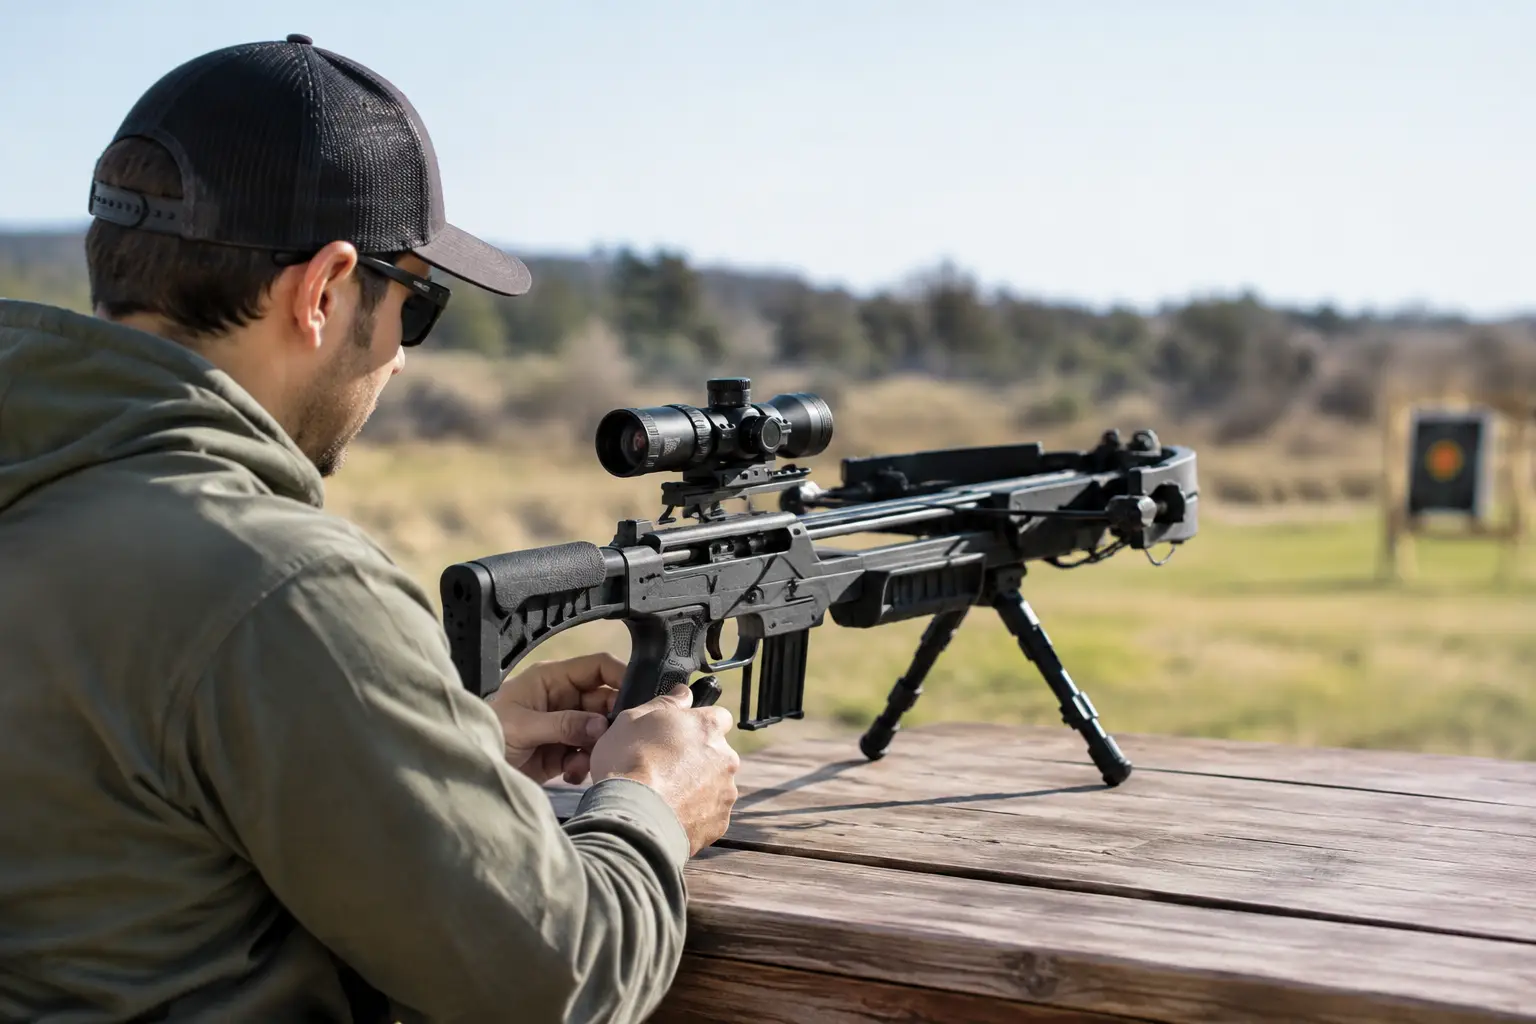
Start at close range, typically 10 to 20 yards, to confirm you are on paper. Use a stable rest, but do not clamp the crossbow in a way that puts pressure on limbs, cables, or the rail. Shoot a careful group, then adjust the optic based on the optic manufacturer’s adjustment directions. Make one change at a time and write down what you did if you are new to crossbow zeroing.
Once the R50 is grouping where you want it at close range, move back in reasonable steps. Many hunters use 20 yards as their primary zero, then confirm the remaining reticle marks at the distances they actually plan to hunt. Your real-world range may be 30 yards from a treestand or 50 yards across a field edge. Zero for your hunting reality, not for a number that sounds impressive online.
Use the same Ravin-approved arrow setup for practice and hunting. Changing arrow weight, broadhead style, or point of impact setup late in the process can change results. Practice with field points, then confirm broadhead impact before season. Broadheads can fly differently, and that is not a detail to discover when a buck finally offers a clean shot.
Keep the R50 Ready Between Range Days
A well-set-up crossbow still needs routine attention. After shooting, wipe away moisture, dirt, and residue. Inspect the string and cables, check the rail and retention system, and look over the optic mounts. Follow Ravin’s lubrication guidance exactly. Too much lubricant can collect grit, while the wrong product can cause more trouble than it solves.
Store the R50 in a dry, secure location away from unauthorized users. Do not store it cocked unless Ravin specifically instructs otherwise for a particular circumstance. Before every hunt, do a quick check of the safety, arrow condition, optic clarity, fasteners, and quiver mount.
Setup mistakes that cost hunters accuracy
Most R50 setup issues come down to rushing. The common offenders are skipping the manual, using damaged arrows, failing to verify optic hardware after initial shots, changing broadheads without rechecking impact, and treating a new crossbow like it is already dialed in.
The other mistake is buying more crossbow than your hunting setup needs. The R50 makes sense for the hunter who values a compact Ravin platform and wants a serious deer-hunting tool. If you are comparing Ravin models, look honestly at your shooting distances, budget, preferred hunting terrain, and comfort with the cocking system. An R10, R29X, R50, or R500 can all be the right choice depending on those details.
Put in the quiet range work now. When the moment arrives in the woods, confidence should come from verified gear and practiced handling, not hope.