Ravin Crossbow Hunting Setup Guide for Deer
A Ravin crossbow can put a lot of speed and accuracy in your hands. That does not mean you pull it from the box, screw on a broadhead, and head for the woods. A proper Ravin crossbow hunting setup guide starts with one rule: follow the model-specific manual before anything else. Ravin systems are engineered as complete platforms, and small setup mistakes can cost accuracy, damage equipment, or create a real safety issue.
Disclosure: Dark Justice Survival is a Ravin Crossbows affiliate. Purchases made through links on this page may earn us a commission at no cost to you.
Shop on Ravin:
See Ravin crossbows and current prices on RavinCrossbows.com →
See Ravin broadheads and current prices on RavinCrossbows.com →
The good news is that getting a Ravin ready for deer season is not complicated. It just needs to be done in the right order. Here is the no-BS process for turning a new Ravin into a hunting rig you can trust from the first cold morning through the final evening sit.
Start With the Right Ravin Model
Setup gets easier when the crossbow matches the way you hunt. A compact, fast Ravin is not automatically the best choice if its price, weight, or features do not fit your actual situation.
The Ravin R10 remains a practical entry point for hunters who want Ravin’s compact design without stepping into premium pricing. It makes sense for deer hunters who want a capable, maneuverable platform for blinds, treestands, and general whitetail hunting.
The R29X is built for hunters who want more speed and a more refined package. It is a strong fit if you hunt open fields, take longer practice shots, or simply want a higher-end crossbow that stays compact in a stand. The R50 and R500 push further into premium Ravin territory, with extreme speed and features intended for hunters who want very little compromise.
There is a trade-off. Higher-speed models are serious tools, but they cost more and demand more attention to bolt condition, broadhead tuning, and safe handling. If you are buying your first crossbow, do not assume you need the fastest model. Compare the R10, R29X, R50, and R500 based on your hunting terrain, budget, and how much practice time you will honestly put in before season.
Ravin Crossbow Hunting Setup Guide: Assembly First
Set up your crossbow on a clean bench or table where small hardware will not disappear. Read the manual for your exact model from front to back before installing accessories. That is not legal fine print. Ravin uses specific procedures and compatible components for a reason.
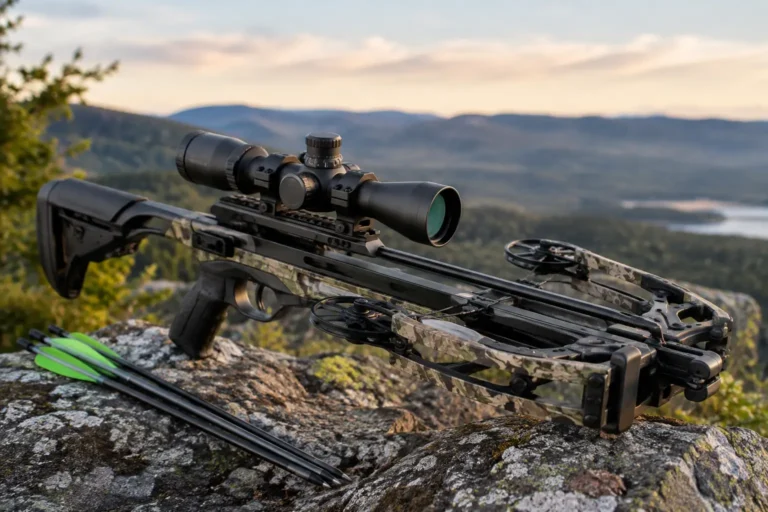
Install the scope and any included mounting hardware exactly as directed. Keep the scope level, make sure it offers proper eye relief when shouldered naturally, and tighten fasteners to the manufacturer’s specified torque. Over-tightening scope rings can damage the tube. Under-tightening lets the scope shift and turns your zero into a guessing game.
If your Ravin model includes a quiver mount, install it and check clearance with the scope, stirrup, and cocking system. A quiver should stay quiet, secure, and easy to remove when needed. Do not load it with bolts until you have confirmed the setup does not interfere with safe handling.
Before shooting, inspect the entire rig. Look for loose fasteners, damaged cables or strings, a scope that appears canted, and anything that rubs during cocking. If something looks wrong, stop. Do not try to force a high-performance crossbow through an issue that should be handled by Ravin support or a qualified technician.
Use Ravin-Approved Bolts and Components
This is one place where hunters get careless trying to save a few dollars. Do not mix random bolts, nocks, or accessories into a Ravin setup. Use the bolts and components approved for your specific Ravin model.
Crossbows operate under far more stress than many new owners realize. Bolt length, nock design, total weight, straightness, fletching condition, and broadhead fit all matter. A bolt that is not made for the platform can affect accuracy and safety. That is a bad gamble before a deer hunt, especially with a high-speed model such as an R500.
Inspect every bolt before it goes into the rail. Check for cracks, splinters, loose fletchings, damaged nocks, bent inserts, and worn broadhead threads. If a bolt is questionable, retire it. A hunting bolt is cheaper than an equipment repair or an injury.
For broadheads, begin with the type and weight recommended for the crossbow and bolt setup. Fixed-blade heads can offer tough, simple performance, but they may need more tuning than mechanical heads. Mechanical broadheads often fly closer to field points, though every hunter should verify their specific broadhead before trusting it on game. No package label replaces real shooting.
Cock It the Same Way Every Time
Consistency starts before the shot. Use the Ravin cocking system according to the manual and make sure the string is seated evenly each time. Uneven cocking can create accuracy problems that look like a scope issue.
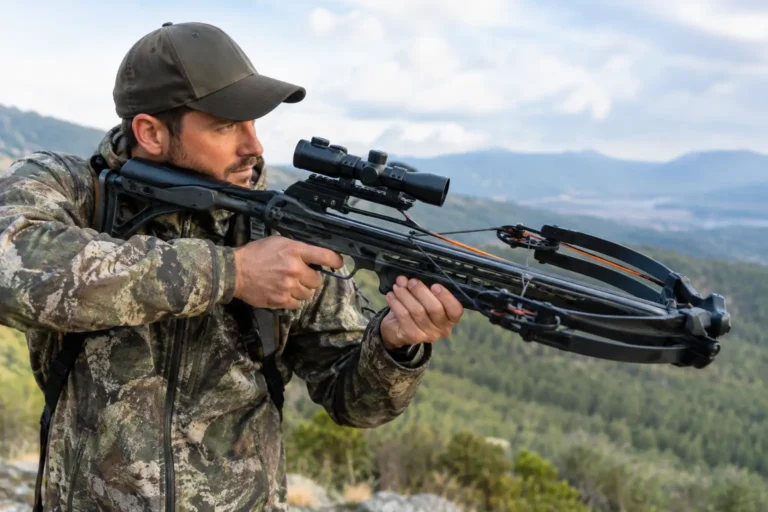
Keep your fingers, thumb, and anything else below the string path. Ravin crossbows are compact, which is one reason they carry so well in a blind or stand, but compact limbs do not make string travel harmless. Build the right habit from day one: hands below the rail, body clear of the string, and muzzle pointed in a safe direction.
Never dry-fire the crossbow. Never load a bolt until you are ready to shoot. Confirm that the safety is functioning properly and that the bolt is fully seated against the string before firing. These are basic rules, but they are the rules that prevent expensive mistakes.
Zero the Scope Before Broadhead Season
Do not rush scope setup in the backyard the night before opening day. Give yourself a calm range session with a solid target built for crossbow speeds. Start close, usually at 20 yards, and use a stable rest. Shoot groups, not single arrows. One lucky shot tells you nothing.
Once the 20-yard group is centered, move to the next yardage mark on your scope. Follow the instructions for your Ravin optic because reticle systems vary by model. Most hunters should verify the distances they are likely to shoot in the field, such as 20, 30, and 40 yards. If you plan to hunt farther, practice farther, but do not let range confidence turn into poor shot selection on an animal.
A crossbow that groups well at 20 yards can still show a problem at 40. Shoot at least three-bolt groups and watch for patterns. A consistent left or right shift usually points to scope adjustment, cant, or setup inconsistency. Wild groups can indicate a damaged bolt, loose scope hardware, poor shooting form, or a mechanical issue.
Keep a simple range note in your phone or pack. Record the bolt type, field-point weight, broadhead model, zero distance, and any adjustments. This is especially useful if you remove the scope, travel with the crossbow, or change bolt batches before season.
Broadhead-Test the Exact Hunting Setup
Field points are for getting close. Broadheads are the final proof.
After your scope is zeroed with field points, shoot the exact broadheads you will carry in the woods. Use the same bolts, total point weight, and distances you expect to hunt. Begin at 20 yards, then move out. If broadheads group differently from field points, do not ignore it and hope for the best.
First, confirm that the broadheads are tightened correctly and that the bolts are undamaged. Then recheck scope mounts, bolt consistency, and broadhead alignment. Some fixed-blade heads may need a different setup or more careful tuning. If your mechanical broadheads group perfectly but a fixed head does not, that does not make either one bad. It tells you which setup works with your current rig.
For deer hunting, the goal is not internet bragging rights at 80 yards. It is repeatable accuracy at the ranges where you can make a calm, ethical shot from your stand, blind, or ground setup.
Build a Hunting Kit Around the Crossbow
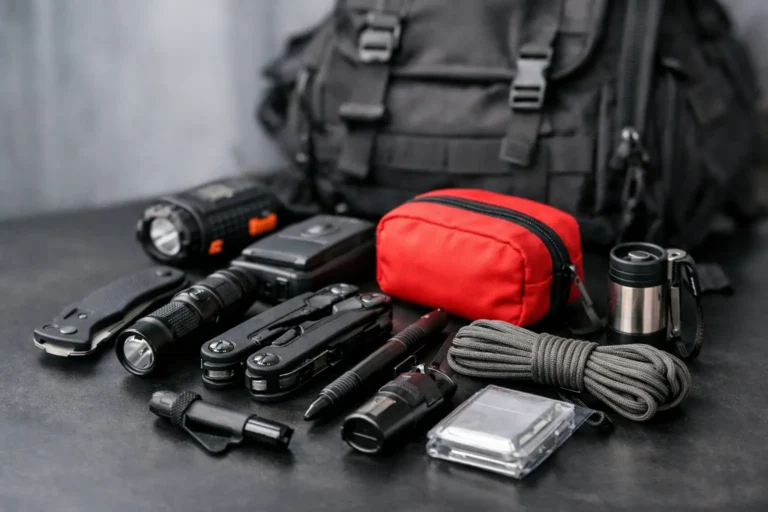
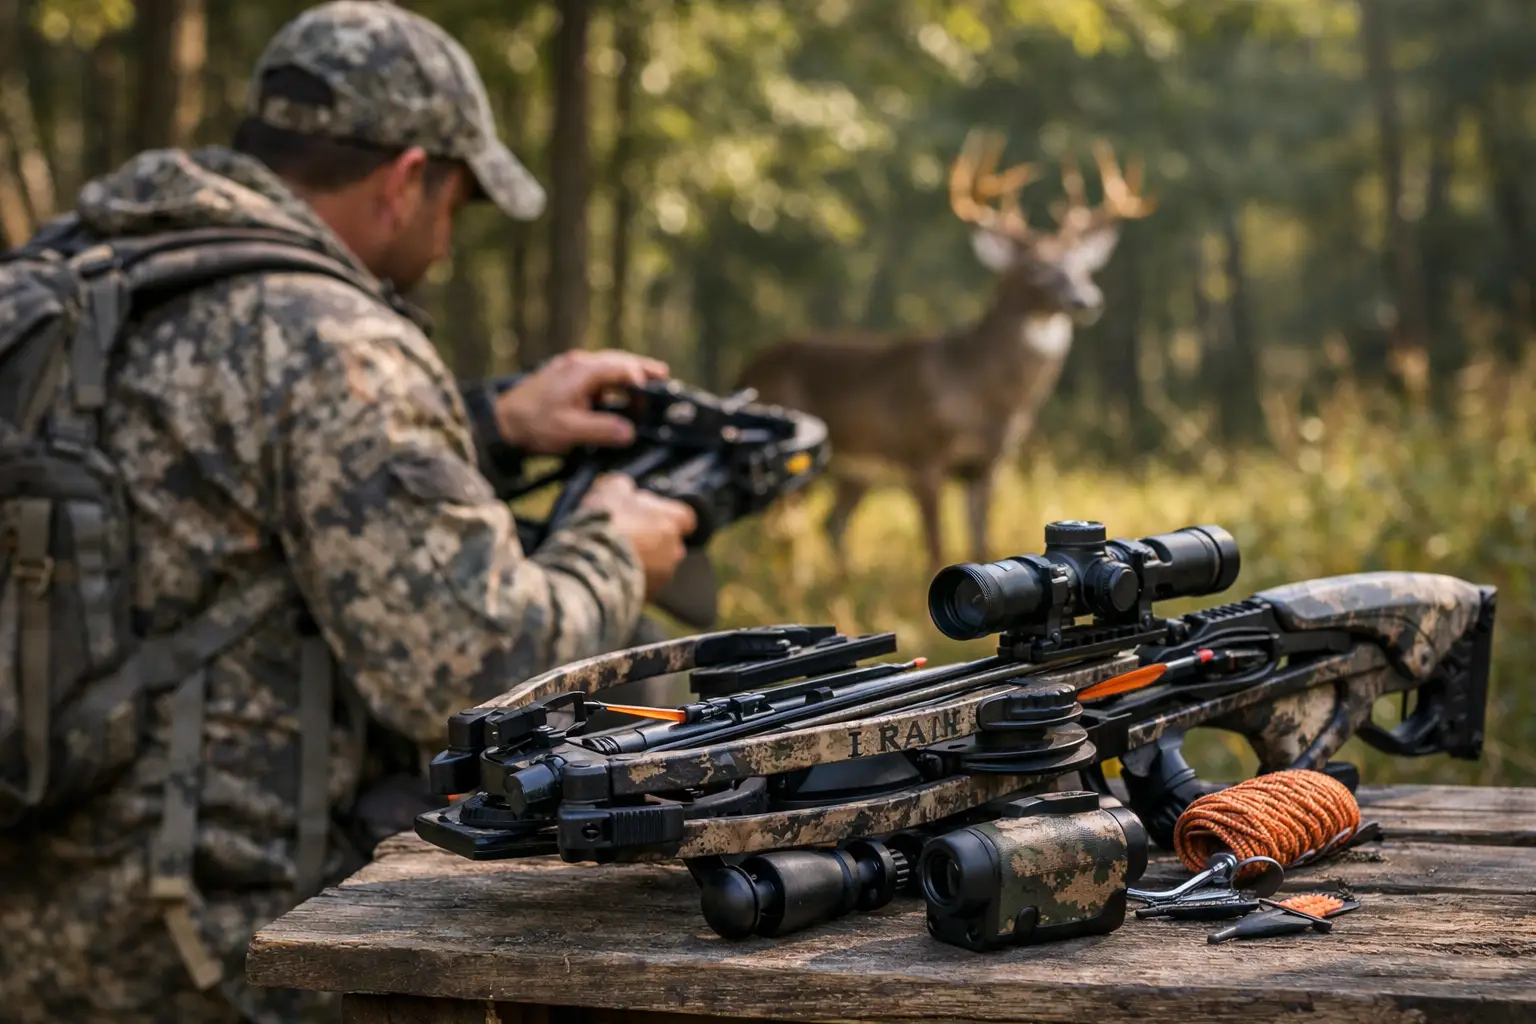
Your crossbow should arrive at the truck or stand with the basics handled. Keep these items together in a dedicated case or pack:
- Ravin-approved hunting bolts, each inspected before the trip
- Practice bolts kept separate from broadhead-tipped hunting bolts
- A safe broadhead cover or transport system
- Spare batteries if your scope or accessory requires them
- A compact tool kit with the correct drivers and manufacturer-approved specifications
- A rope or haul line for raising an unloaded crossbow into a treestand
Do not carry a loaded crossbow while climbing. Raise and lower it unloaded, then load only when you are positioned, settled, and ready to hunt. In a ground blind, check limb clearance before the deer show up. In a treestand, rehearse the shot angles and make sure your quiver position does not snag on the rail or safety harness.
Practice Like You Will Hunt
Bench-rest accuracy is useful, but it is not the whole job. Practice from the positions you actually use. Sit in a chair to mimic a blind. Shoot from a stable elevated platform where legal and safe to understand downhill angles. Practice shouldering the crossbow, finding the scope quickly, and holding steady without forcing the shot.
Ravin crossbows are known for speed and compact handling, but no model erases the need for discipline. The R29X, R50, and R500 can make distance estimation and wind less punishing than slower setups, yet deer can still move before the bolt arrives. Keep your personal hunting range conservative, especially on alert animals.
A final check the week before season is worth the time. Confirm zero, inspect every bolt, test your broadheads, and make sure the cocking system operates cleanly. Then leave the tinkering behind. The best Ravin hunting setup is the one you have tested enough that, when a deer finally steps into range, nothing about your gear is a surprise.