How to Sight a Ravin Crossbow for Hunting
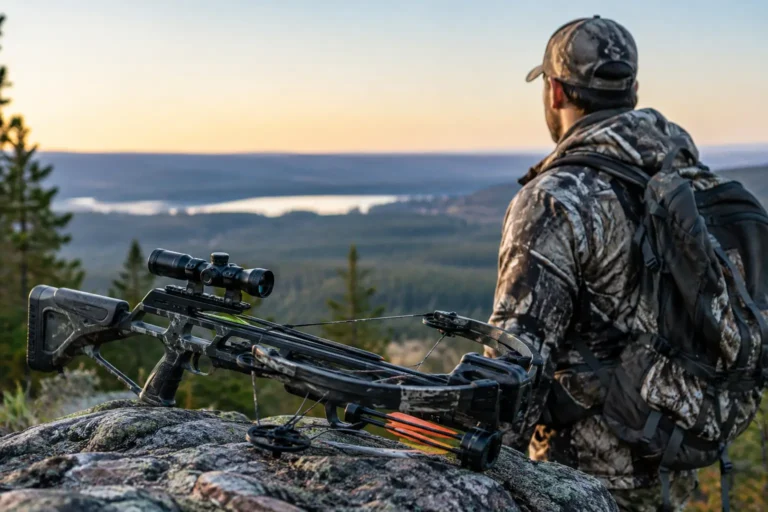
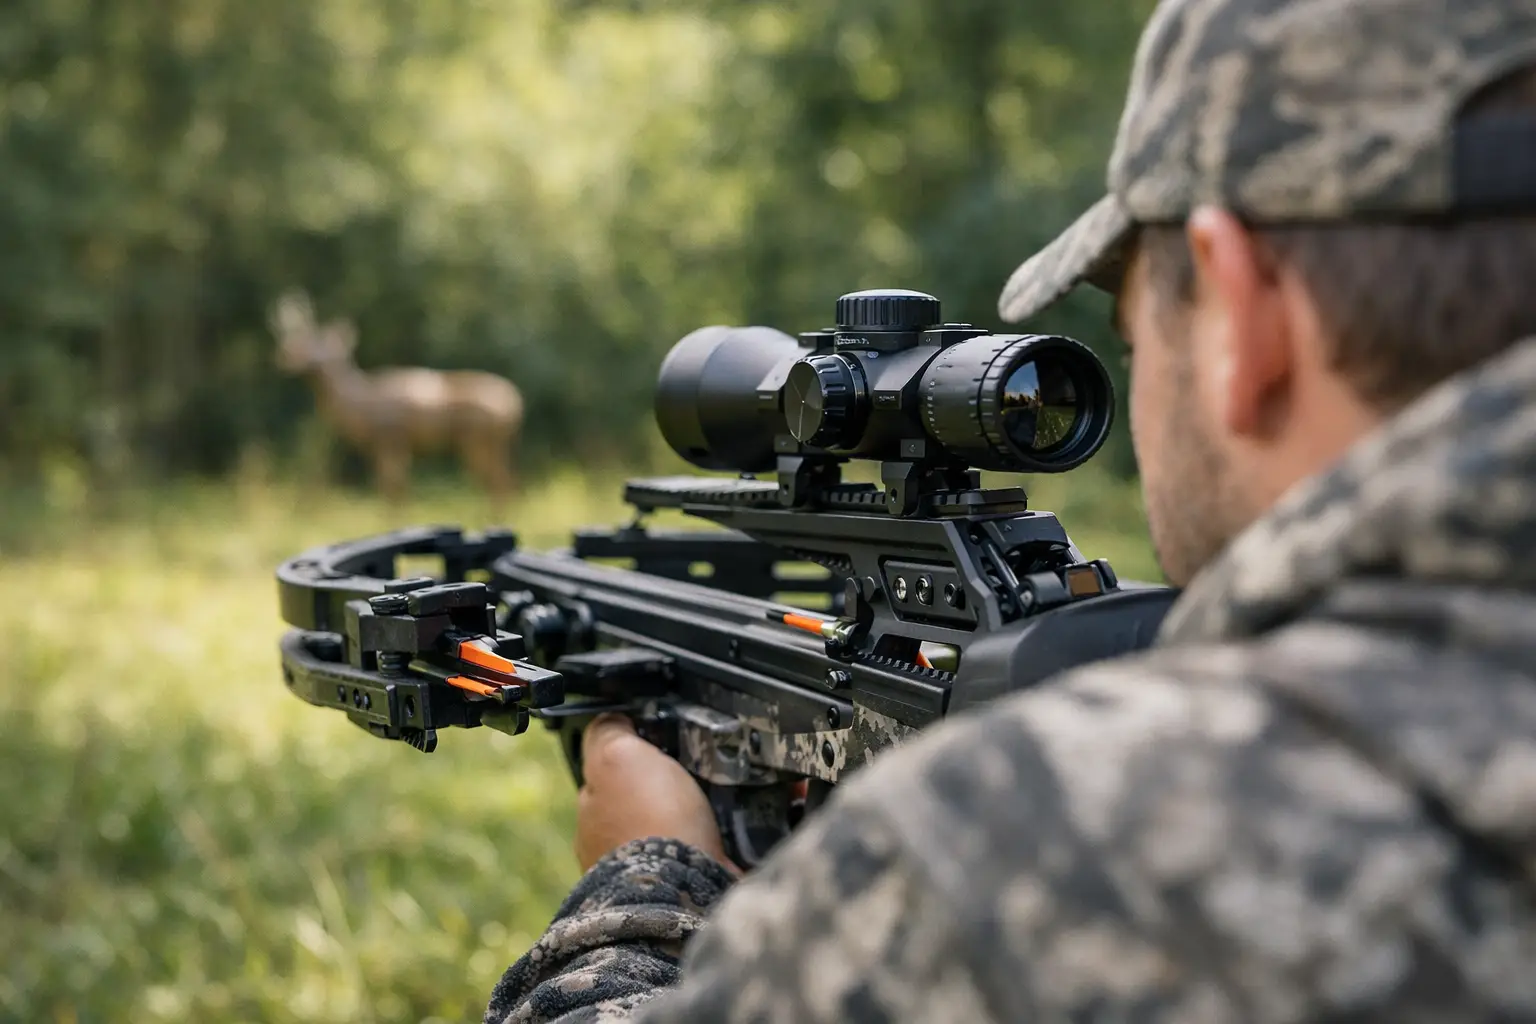
A Ravin that is not properly sighted is a very expensive way to miss. These crossbows are built for speed, tight groups, and serious hunting range, but none of that matters if you rush the setup or chase holes in a target without a plan. If you are figuring out how to sight Ravin crossbow models for the first time, start with a controlled bench setup and make one adjustment at a time.
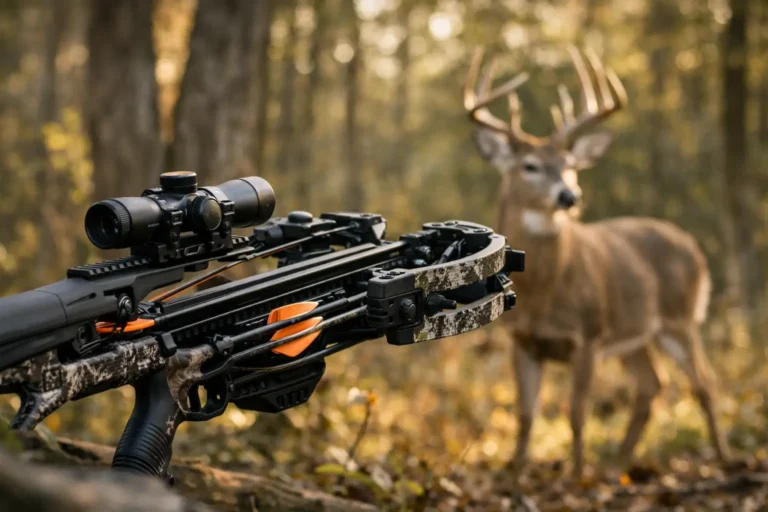
The goal is not to create a perfect target-range rig that only works on a windless afternoon. The goal is a crossbow you can trust from a cold deer stand, with the exact arrows, broadheads, and hunting position you will actually use.
Before You Sight a Ravin Crossbow
Read the owner’s manual for your exact model before touching the scope controls. A Ravin R10, R29X, R50, and R500 share the company’s compact, high-performance design, but their speed ratings, included optics, and setup details can differ. Follow the model-specific instructions first, especially for cocking, arrow loading, and scope calibration.
Use the arrows specified for your Ravin. Do not substitute a random crossbow bolt because it fits the rail. Ravin arrows are matched to the platform’s nock system and performance requirements. The wrong arrow can hurt accuracy and create a safety problem.
Set up on a solid shooting bench with a quality rest that supports the fore-end without contacting or obstructing the string path. Use a layered foam target rated for crossbow speed. High-speed models such as the R500 can punish cheap targets, and pulling an arrow from a target that is too soft is not a fun way to end a sight-in session.
Before shooting, check that the scope rings and mounting screws are snug to the manufacturer’s specification, the optic is level enough for normal hunting shots, and the scope’s speed setting matches your crossbow and arrow setup. If your Ravin scope uses a speed dial, do not assume the factory position is automatically correct after changing arrow configuration or optics.
How to Sight a Ravin Crossbow Step by Step
Start close. Twenty yards feels like the obvious place to begin, but 10 yards is better for getting the scope centered without wasting arrows or tearing up a target.
Begin at 10 yards
Load the correct Ravin arrow, cock the crossbow according to the manual, and shoot from the bench using the top aiming point in the scope. Fire a single arrow, then unload or make the crossbow safe before walking to the target. Keep people well behind the shooting line anytime the crossbow is cocked or loaded.
At 10 yards, adjust the scope toward the impact point. If the arrow hits low and right, move the elevation adjustment down and the windage adjustment right. Scope adjustment labels can feel backward when you are new to them, but the simple rule is this: move the reticle in the direction you need the group to move.
Shoot again after each adjustment. Do not fire a three-arrow group into one tiny spot at this distance. Ravins are capable of stacking arrows, and damaged arrows are not worth proving a point. Once the arrow is landing close to your aiming point, move back.
Confirm at 20 yards with a group
At 20 yards, shoot a careful three-arrow group. Use the same hold, same rest position, and same arrow model for every shot. Do not adjust based on one bad trigger pull. Look at the center of the group.
If the group is consistently off, make small windage or elevation corrections and shoot another group. When your group is centered, your primary aiming point is ready. For many deer hunters, a dependable 20-yard zero is the foundation for every other mark in the scope.
A common mistake is trying to correct left-right misses with a speed dial. Do not do that. Windage is handled with the scope’s left-right adjustment. The speed setting controls the spacing of lower aiming marks, not the horizontal point of impact.
Set and verify the speed dial
This is where a fast Ravin earns its reputation, but it is also where sloppy setup causes headaches. With a compatible multi-reticle scope, the speed setting is used to align the lower aiming marks with longer distances. Once your 20-yard point is correct, shoot at the next marked distance, often 30 yards, using the appropriate reticle.
If that group lands high or low while the 20-yard group remains centered, fine-tune the speed dial in small increments. Then recheck 20 yards. You are balancing the reticle spacing, so changing the speed dial can affect your other distance references.
Take your time here. A Ravin R29X or R500 throws an arrow fast enough that small changes can matter at 40 and 50 yards. The right setting is not necessarily the number printed on the crossbow’s spec sheet. It is the setting that puts your actual hunting arrow where the scope says it should go.
Walk back in realistic increments
Once 20 and 30 yards are working, verify 40 yards and then 50 if that distance is legal and within your skill level. Shoot three-arrow groups when possible, but use separate aim points or fresh target faces to avoid arrow-on-arrow damage.
Do not be surprised if a crossbow that groups perfectly at 20 yards exposes a small issue at 50. A loose scope ring, inconsistent bench support, a damaged vane, or an incorrect speed setting can all show up downrange. Fix the cause instead of simply accepting a miss and memorizing a holdover.
Broadheads Can Change the Answer
Field points are for getting the system close. Broadheads are the final test for a hunting crossbow.
After your Ravin groups well with field points, shoot the exact broadhead and arrow combination you intend to hunt with at 20, 30, and your maximum ethical range. Fixed-blade broadheads can occasionally impact differently than field points, particularly at longer distances. Mechanical broadheads often track closer, but the only honest answer is what your setup does on paper.
If your broadheads group together but land slightly away from field points, decide which point of impact matters most: your hunting broadhead. Adjust for the broadhead group, then confirm that every scope mark still makes sense. Do not sight in with one arrow weight and hunt with another. That is how a clean setup turns into a wounded-animal problem.
For most whitetail hunters, a Ravin that repeatedly puts broadheads into a 2-inch group from a stable position at 30 or 40 yards is ready. Extending farther can be reasonable for an experienced shooter with the time to practice, but speed does not erase wind, branch deflection, animal movement, or shaky nerves.
Problems That Throw Off Ravin Accuracy
If your groups suddenly open up, stop adjusting the scope until you check the basics. A scope rarely drifts for no reason, but hardware and shooter error are common.
Check these five items before you blame the crossbow:
- Confirm every arrow is the correct Ravin model, with undamaged nocks, shafts, and vanes.
- Inspect the scope mount, rings, and fasteners for movement or looseness.
- Make sure the arrow is seated correctly against the string every time.
- Use the same rest position and avoid pressing against the string or cables.
- Verify that the speed dial and brightness settings have not been bumped.
Also pay attention to trigger control. Ravin crossbows are compact, which makes them excellent in blinds and treestands, but compact does not mean immune to shooter input. Keep the crossbow supported, settle the reticle, and press the trigger straight through. Jerking the trigger to beat a moving pin is still jerking the trigger.
Sight In From Hunting Positions Too
A bench proves the equipment. Hunting positions prove the shooter.
After sighting in, practice from a seated position, standing position, and any rest you use in a blind or stand. If you hunt from an elevated stand, shoot from elevation before the season. Gravity does not change the arrow’s flight, but your angle, anchor, and range estimation do. Range the animal, not the ground below it.
Keep a few confirmed distance notes with your gear, especially if you swap optics, arrows, or broadheads between seasons. Hunters considering an R10 as a practical entry into the Ravin lineup may prioritize simplicity and a solid 30-yard zero. A hunter comparing the R50, R29X, and R500 may be looking for more downrange capability. Either way, the best Ravin setup is the one you can repeat without guessing.
Before opening day, fire a single confirmation arrow with your hunting broadhead, then leave the scope alone if it hits where it should. A calm, verified setup beats last-minute tinkering every time.