Tarp Shelter Setup for Beginners That Works
A bad shelter setup usually fails the same way – too low, too loose, or pointed the wrong way into the wind. That is why tarp shelter setup for beginners should start with one goal: build something fast, stable, and dry before you worry about fancy knots or advanced shapes.
A tarp is one of the most useful pieces of shelter gear you can own. It is lighter than a tent, more flexible in rough terrain, and easier to carry in a truck, van, bug-out bag, or basic camp kit. But a tarp only works if your setup is solid. For beginners, that means choosing the right gear, reading the site correctly, and using a shelter shape that forgives mistakes.
Why a tarp makes sense for beginners
A tarp teaches good shelter habits fast. You learn how wind direction matters, why drainage matters, and how tension changes everything. That kind of hands-on skill pays off whether you are camping for fun, building an emergency shelter, or putting together an off-grid backup kit.
It also gives you options. A tent has one shape. A tarp can become a lean-to, an A-frame, a plow point, or a low storm shelter depending on conditions. The trade-off is that you have to do more of the thinking yourself. That is not a bad thing for beginners, as long as you keep the first few setups simple.
The gear that makes tarp shelter setup for beginners easier
You do not need a massive pile of equipment, but the right basics matter. A cheap tarp with weak tie-outs and thin grommets can turn a simple overnight into a fight. Start with a tarp that is actually made for shelter use, preferably with reinforced tie-out points and decent material strength.
For most beginners, an 8×10 or 10×10 tarp is the sweet spot. An 8×10 works well for one person and gear. A 10×10 gives you more margin for bad weather or sloppy setup. If you are taller, carrying extra gear, or sharing space, go bigger.
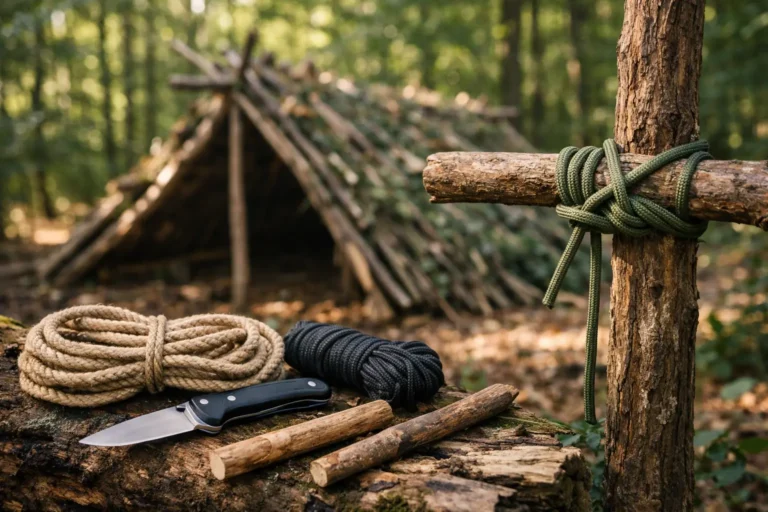
Your support kit matters almost as much as the tarp itself. Carry a ridgeline, a few lengths of guyline, and solid stakes. Paracord works, but dedicated guyline with some grip and visibility is better in low light. Stakes should match the ground you expect. Skinny stakes are fine in firm soil. Broader stakes hold better in loose dirt or sand.
If you want a beginner-friendly loadout, keep it simple: tarp, six to eight stakes, 25 to 50 feet of cord, and one or two poles if you are not counting on trees. That is enough to handle most real-world camp and emergency setups without overcomplicating the system.
Pick the site before you touch the tarp
Most beginner mistakes happen before the first knot. If you set up in the wrong spot, even a perfect tarp pitch can still leave you wet, cold, or miserable.
Look up first. Dead branches are a hard no. Then look at the ground. Avoid low spots where water collects, soft washes, and places with obvious runoff channels. Flat ground feels convenient, but a slight rise is usually better in rain.
Now check the wind. This matters more than beginners think. If the open side of your shelter faces into the wind, rain gets blown inside and your tarp starts acting like a sail. Turn the low side toward the prevailing wind and keep your entrance protected when possible.
Trees are helpful, but spacing matters. If two trees are too close, your tarp becomes cramped. Too far apart, and you lose tension. For a basic ridgeline setup, moderate spacing is ideal so you can get a clean pitch without stretching every cord to the limit.
The easiest tarp shelter setup for beginners
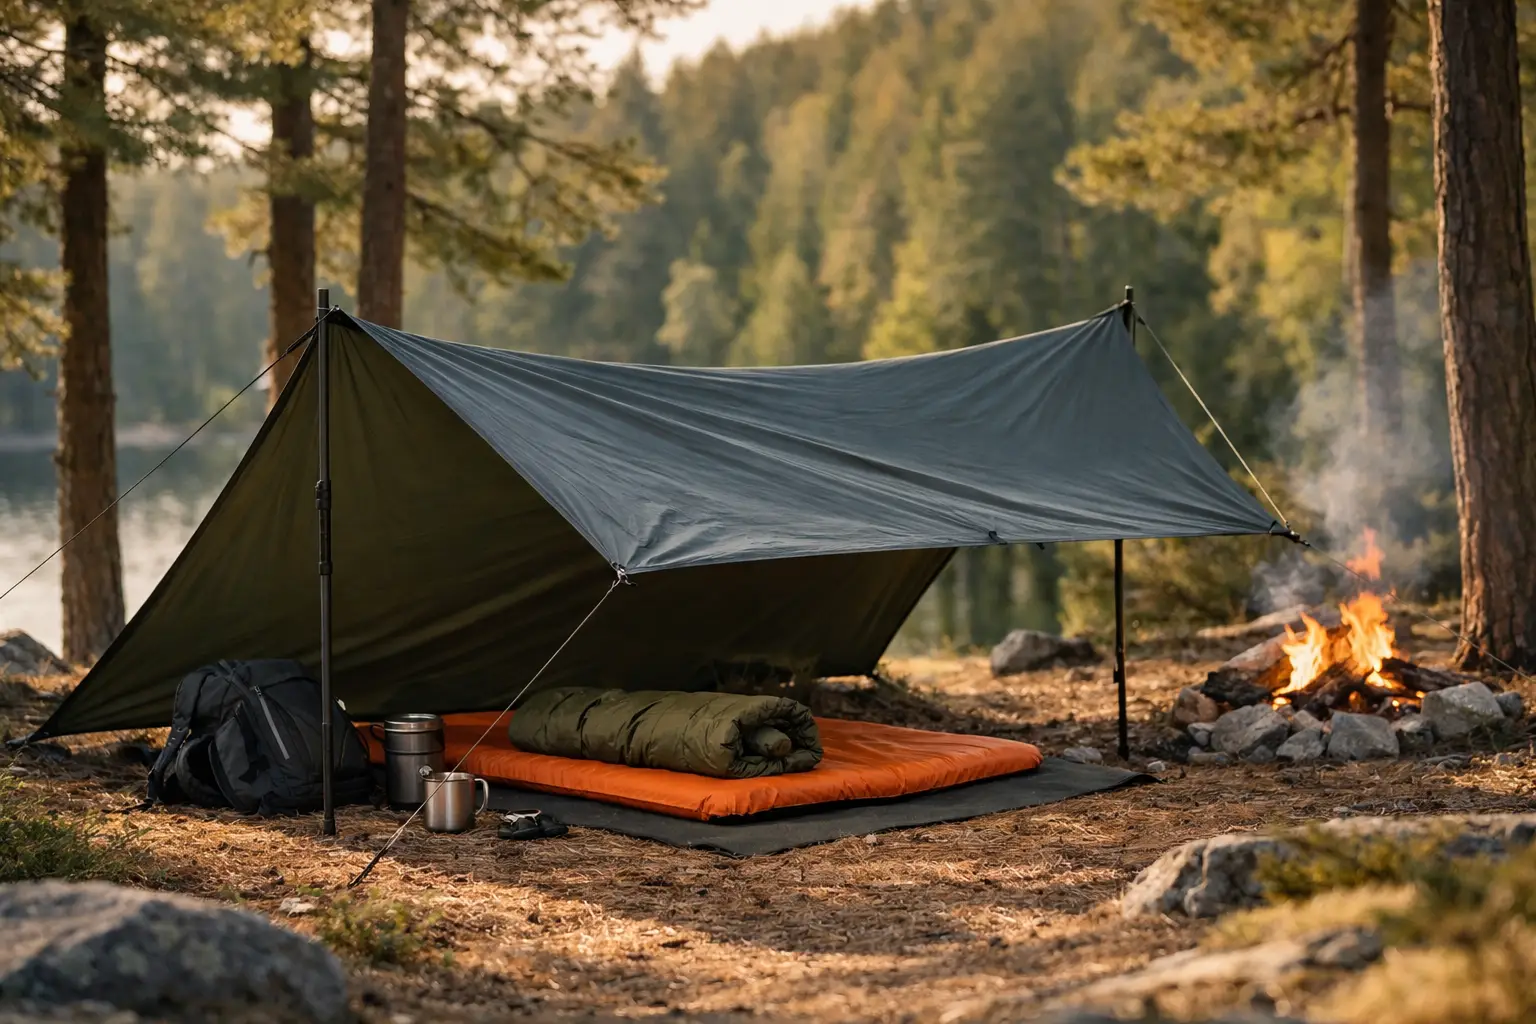
If you are just starting out, use an A-frame. It is not the coolest-looking pitch, but it works, and that is what counts.
Run a ridgeline between two trees or between two supports. Drape the tarp evenly over the line so both sides hang down with similar coverage. Stake the four corners, then adjust the angle and tension until the tarp is tight. After that, add extra tie-outs if your tarp has them.
The goal is not drum-tight perfection. The goal is a clean shape that sheds water and stays put in wind. Keep one side a little lower if weather looks rough. If conditions are calm and you want more room, raise the ridgeline slightly.
The A-frame gives beginners a few big advantages. It is easy to understand, easy to troubleshoot, and forgiving when your knot work is average. It also gives decent protection from rain on both sides. The downside is that it can feel cramped compared to more open pitches, especially with a low ridgeline. That is the trade-off for better weather resistance.
How to tension it correctly
Loose tarps fail fast. Water pools, edges flap, and stakes pull out. Start by staking the corners at angles that pull outward, not straight down. Then tighten each side a little at a time instead of cranking one point all the way tight.
If your tarp has side tie-outs, use them. They open up interior space and reduce flapping. In wind, lower the whole structure rather than trying to fight the weather with a tall pitch. A lower shelter is usually warmer, quieter, and more stable.
Knots do not need to be fancy, but they do need to hold and release without a fight. A trucker-style tension method or simple adjustable hitch helps a lot here. Practice those at home before you need them in fading light.
When to use a lean-to instead
A lean-to is another solid option, especially if you want a fire in front of the shelter or a better view around camp. One side stays high, one side gets staked low, and the open front faces away from the worst wind.
This setup is quick and comfortable in mild weather. It is not the best first choice in blowing rain or cold wind unless you know how to angle it well. Beginners often pitch it too open, which feels roomy at first and miserable later. If weather is questionable, go lower and tighter than you think you need.
Common beginner mistakes that wreck a tarp pitch
The first mistake is setting up too late. Shelter gets harder when you are tired, cold, and losing daylight. If rain looks possible, build early.
The second is chasing perfect symmetry instead of weather protection. A tarp does not need to look pretty. It needs to block wind, shed water, and stay standing.
The third is using weak anchor points. Tiny sticks, bad stakes, or half-buried tie-downs fail when the weather turns. If the ground is poor, use rocks, logs, or buried anchors to back up your lines.
The fourth is ignoring runoff. Water always finds the low point. Make sure your sleeping area is not downhill from the tarp edge where rain will drip and collect.
Gear choices that are worth paying for
For beginners, spend money on the tarp and cordage before anything else. Reinforced tie-outs, decent waterproofing, and durable fabric make setup easier and more reliable. Cheap tarps can work for backyard practice, but for real use, they usually become false economy.
Stakes are another place where quality shows up fast. Bent hardware-store stakes and bargain pegs are frustrating in hard ground. A good set matched to your conditions saves time and keeps your shelter secure.
Poles are optional, but they help if you camp above tree line, on open ground, or out of a vehicle. Adjustable poles make tarp pitching far more flexible than trying to improvise every time.
If you are building a serious shelter kit, this is one category where product quality matters. Dark Justice Survival focuses on gear that actually holds up because shelter is not the place for hype or throwaway equipment.
Practice before you need it
The best place to learn tarp setup is not deep in the woods during a storm. It is your backyard, a local park where allowed, or any safe place where you can test a few pitches without pressure.
Set up the same shelter three or four times until the process feels automatic. Try it once in calm weather and once when it is windy. Change the height. Change the direction. See how small adjustments affect coverage and stability. That kind of repetition builds real confidence fast.
A tarp rewards skill more than price. Good gear helps, but knowing how to pitch it low, tight, and in the right direction matters even more. Start with one simple shape, get it right, and earn your way into the more advanced stuff later.
When the weather turns ugly, nobody cares whether your shelter looked impressive. Dry, stable, and fast is the standard that matters.