How to Mount Ravin Scope and Keep It Level
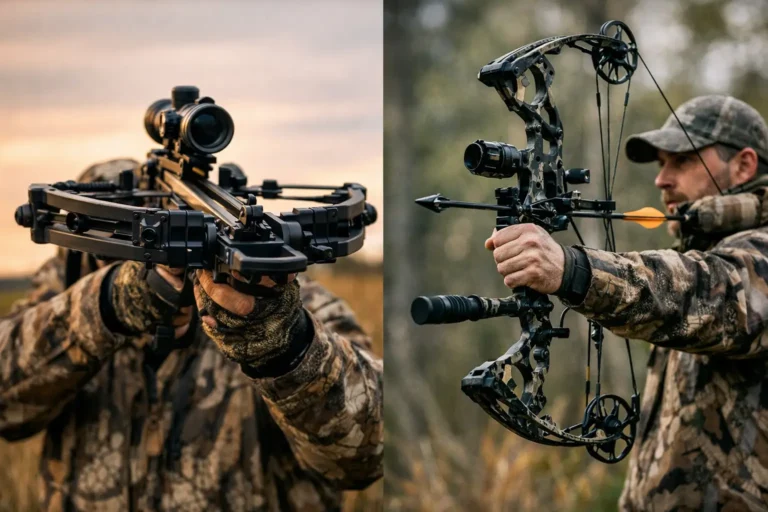
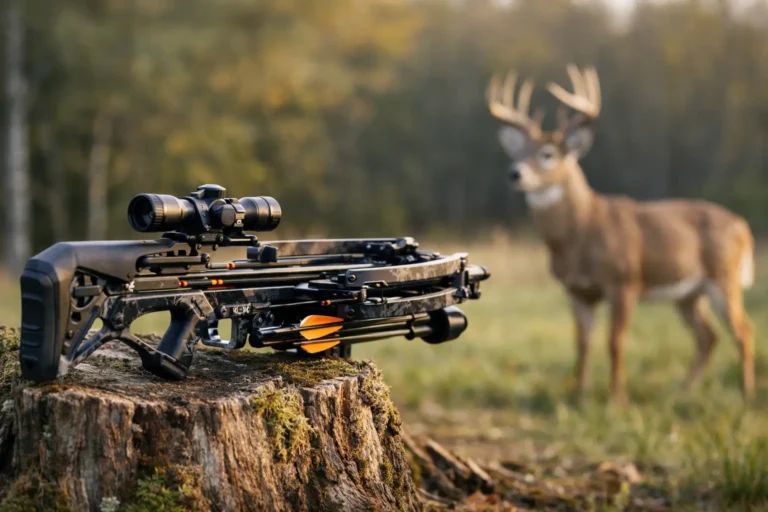
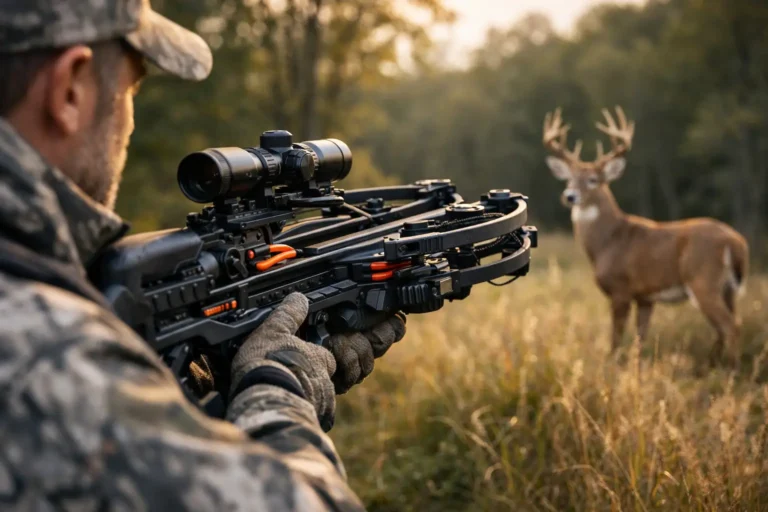
A Ravin can shoot tight groups at serious distance, but only if the scope is mounted square, secure, and set up for your crossbow. If you searched how to mount Ravin scope, the job is not complicated – but rushing it can cost you a hunt. A crooked reticle, over-tightened rings, or a loose base can turn a capable Ravin R10, R29X, R50, or R500 into a frustrating range day.
This is the no-BS process: work safely, use the hardware that fits your Ravin, level the scope properly, tighten it to spec, then verify everything at the range. The final target tells the truth, not the bubble level.
Start Safe and Confirm Your Ravin Setup
Before touching the scope, make the crossbow safe. Remove the arrow, confirm the crossbow is uncocked, and keep it pointed in a safe direction on a stable bench. Never work on a loaded or cocked Ravin just because you are only “adjusting the scope.”
Next, identify what came with your particular Ravin package. Many Ravin crossbows are sold with an illuminated scope and mounting hardware, while package contents and optic designs can differ by model year and configuration. Use the scope base, rings, and screws supplied for your Ravin whenever possible. They are designed to match the crossbow’s rail and the scope tube size.
Do not assume every ring set uses the same screw size or torque value. The correct torque comes from the scope-ring manufacturer and your Ravin owner’s manual. Guessing, especially with a long-handled wrench, is how shooters strip threads, pinch a scope tube, or create a scope that will not hold zero.
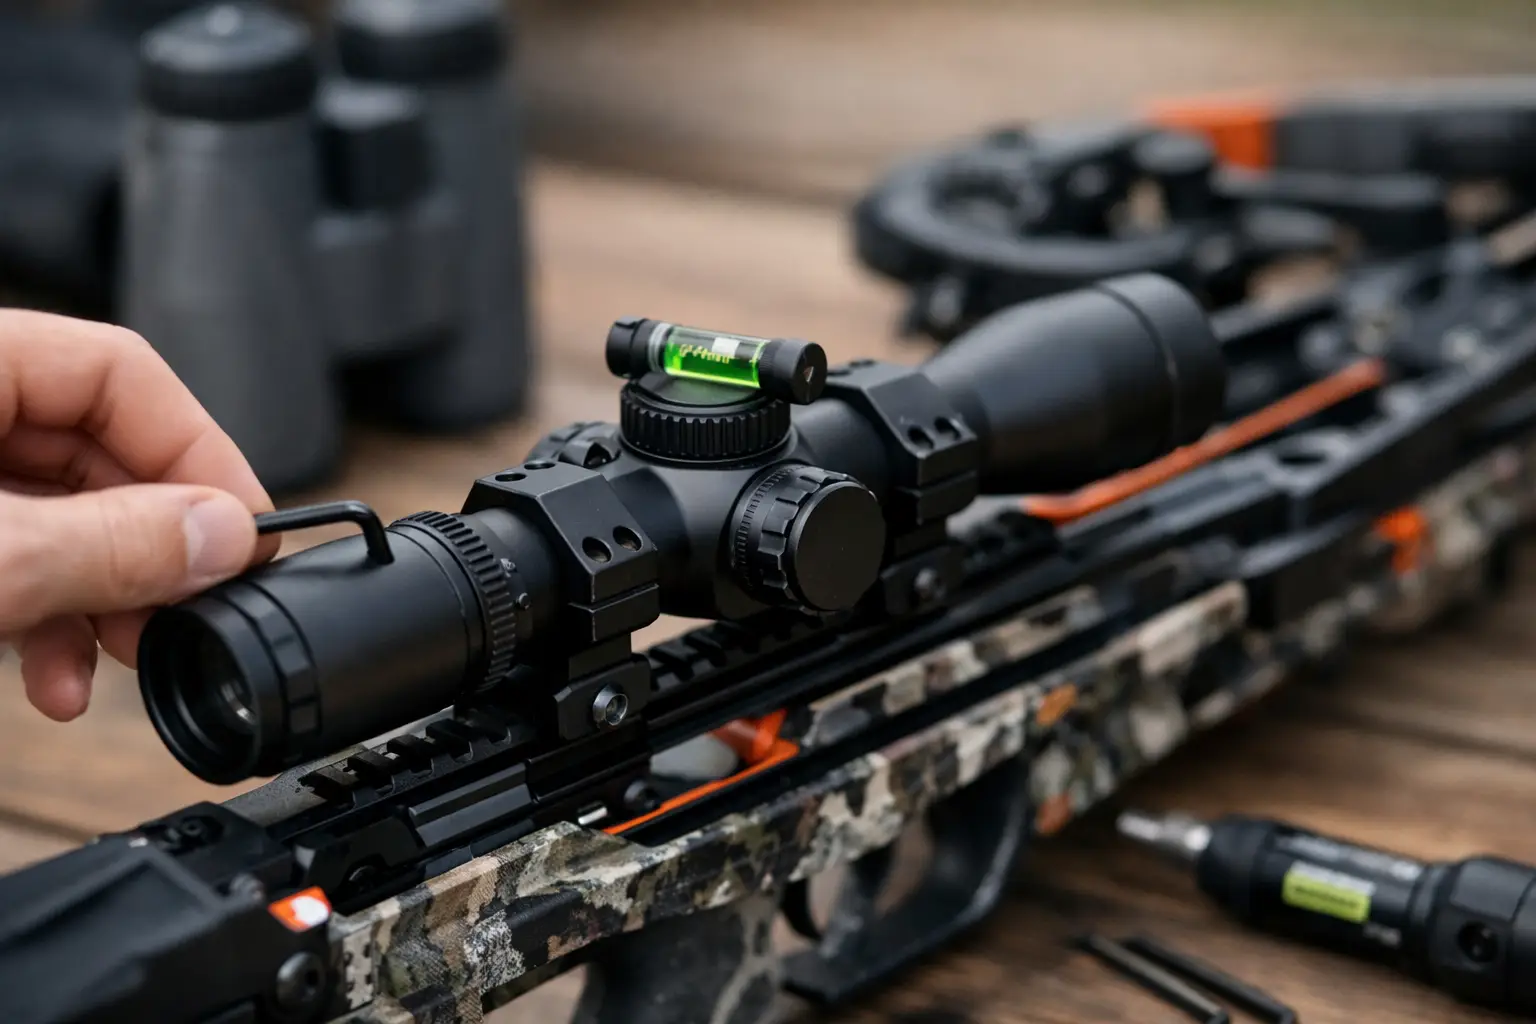
For this job, have the correct hex keys, a small inch-pound torque driver, a non-marring rest or gun vise, and a small bubble level. A clean rag is also useful for wiping oil off the rail and hardware.
How to Mount Ravin Scope Step by Step
1. Secure the scope base or lower rings
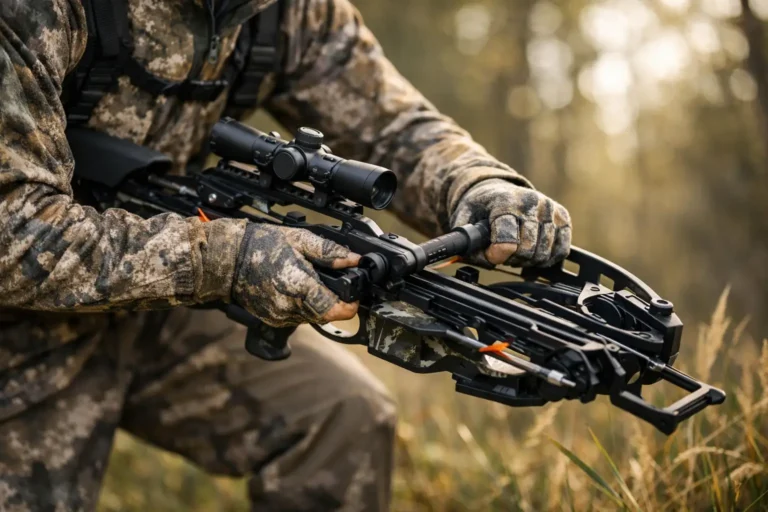
Set the uncocked crossbow in a stable rest. If your Ravin uses separate rings, install the lower halves on the rail or mount first. If it uses a one-piece mount, position that mount on the rail according to the manual.
Place the mount far enough forward that you can see the full sight picture with your normal cheek position. Crossbow scopes generally need more eye relief than many new shooters expect. You should not need to crawl up the stock or stretch your neck to see a full, bright image through the optic.
Keep the mount clear of moving parts, the cocking system, and anything that prevents access to controls. On compact Ravin platforms, space is limited. That makes proper positioning more important, not less.
Tighten the base hardware evenly to the manufacturer’s specified torque. If the mount uses multiple crossbolts or screws, alternate between them in small increments. One side cranked down while the other remains loose can leave the mount slightly misaligned.
2. Set the scope in the lower rings
Lay the scope into the lower ring halves and loosely install the top caps. The scope should still slide forward and back and rotate with gentle hand pressure.
Get behind the crossbow in the same position you use when shooting from a stand, blind, or bench. Move the scope until the image is clear from edge to edge without a dark ring around it. That dark edge is called scope shadow, and it means your eye relief is wrong.
Do this before leveling the reticle. A perfectly level scope in the wrong position is still wrong. For most hunters, a natural head position matters more than squeezing the scope as far forward or rearward as possible.
3. Level the crossbow, then level the reticle
Leveling matters because a tilted reticle can pull your aim left or right as you use lower aiming marks at longer distances. At 20 yards, a small cant may not show much. At 50 yards and beyond, it becomes a real problem.
First, level the crossbow itself in the rest. Use a bubble level on a flat, consistent surface of the rail or mount. Then place a second level on the scope’s elevation turret cap, if that cap is flat enough to provide a reliable reading. Rotate the scope slowly until its vertical reticle line is truly plumb.
There is a practical backup check that works well: aim at a straight vertical line on a target or use a weighted string hanging downrange. The vertical reticle should track that line exactly. This visual check catches mistakes that can happen when a level is placed on a curved or uneven surface.
4. Tighten ring caps evenly
Once the eye relief and reticle are right, tighten the ring-cap screws in an X pattern. Turn each screw a little at a time so the gap between the upper and lower ring halves remains even on both sides.
Use a torque driver, not instinct. Scope-ring torque is typically much lower than people think. Over-tightening can dent the tube, bind internal adjustments, damage finish, and cause tracking problems that look like a bad scope. Under-tightening can let the optic shift under recoil or vibration.
Follow the torque specification for your exact rings and scope. If Ravin supplies the hardware, use its documentation. If the scope or rings were replaced, use the replacement manufacturer’s specification. Do not add thread locker unless the manual specifically calls for it. Some fasteners may need it; others do not.
Set the Speed and Brightness Before Zeroing
Many Ravin scopes use multiple aiming points and a speed-calibration feature. That setup is useful, but it only works when the scope setting matches the actual arrow speed and the arrows you plan to hunt with.
Use the exact Ravin arrows, broadhead weight, and accessories you intend to carry afield. Changing arrow weight after sighting in can shift impact and make the lower marks inaccurate. A crossbow that is dead on with practice points and one arrow setup is not automatically ready for a broadhead hunt.
Set the illumination low enough to see the reticle without letting it flare or cover the target. In low-light deer hunting, a reticle that is too bright can make aiming less precise. The best setting is usually the lowest one you can see clearly.
Confirm Zero at the Range
Mounting the scope is only half the job. Now prove it on paper.
Start close, usually at 10 to 20 yards, so you can confirm that arrows are landing safely on the target. Make windage and elevation changes according to the scope’s adjustment instructions. Once you are centered at the primary zero distance specified for your Ravin scope, move back gradually and test the remaining aiming marks.
Shoot controlled groups from a stable rest. Do not fire two arrows into the same spot with a high-speed Ravin if there is any chance of damaging an arrow. Offset your aiming point or pull arrows between shots. Ravin arrows and broadheads are not cheap, and wrecking one because you chased a tight group is avoidable.
If groups wander after a few shots, stop blaming the scope immediately. Check ring screws, base screws, arrow condition, nock engagement, and shooting form. Then inspect the rail and scope mount for movement. A scope that shifts even slightly will never give honest results downrange.
At Dark Justice Survival, the practical advice is simple: compare Ravin packages based on the hunting distances you actually shoot and the optic included with the crossbow. A fast model such as the R500 can make longer-range reticle marks more useful, but speed does not replace careful mounting and a confirmed zero.
Common Ravin Scope-Mounting Mistakes
The most common mistake is tightening everything before checking eye relief. The second is leveling the scope against a crossbow that is not level in the rest. The third is treating all screws like they need maximum force.
Another problem is changing equipment after sight-in. New broadheads, different arrow weights, loose rings, or an altered speed setting can all change impact. If you change one of those variables before season, shoot again. Do not trust last month’s target.
Finally, do not treat a one-time range session as permanent proof. Check your scope mount before travel, after a hard knock, and before the opener. A quick screw check and a few confirmation shots are cheap insurance when a deer finally steps into range.
Mount it carefully, torque it correctly, and let your real hunting arrow setup decide whether the scope is ready. That is how a Ravin earns its place in the field.