
Weather-Proof Fire-Building: How to Start a Fire in Any Weather
(Rain, Wind & Wet Conditions)
Learn three simple survival methods to build a reliable fire in rain, wind, or wet conditions — even if you’re a beginner.
🧯 Safety First
Before we start:
Fire is powerful and dangerous. Always:
Follow local fire regulations and burn bans
Clear a safe area down to bare soil or rock
Keep water, sand, or dirt nearby to put the fire out
Never leave a fire unattended
Use this guide for responsible outdoor and survival use only.
🌧 Why Fire Is Hard in Bad Weather
Building a fire on a dry, calm day is one thing.
Doing it in rain, wind, or cold is a different game.
In bad weather, you’re fighting:
Wet wood – Moisture in the wood soaks up heat and kills your flame
Damp tinder – Your ignition material doesn’t catch or burns out instantly
Wind – Blows your flame out or steals all the heat
Cold – Your hands get numb, and you rush, making more mistakes
That’s why you don’t want “fancy tricks.” You want simple, repeatable methods that work with basic gear.
🎒 Your Weather-Proof Fire Kit
Recommended core items:
Ferrocerium rod (ferro rod) – Throws super hot sparks, works when wet
Stormproof or waterproof matches – Backup ignition
Lighter – Simple, fast, always worth carrying
Cotton balls + petroleum jelly – Cheap, insanely effective tinder
Fatwood sticks – Resin-rich wood that lights easily and burns hot
Small fixed-blade knife – For shaving, splitting, and preparing wood
Metal or waterproof match case / tin – Keeps tinder and matches dry
Pro Tip: Pack your tinder and matches in a small waterproof container or zip bag. Your future self, shivering in the rain, will thank you.
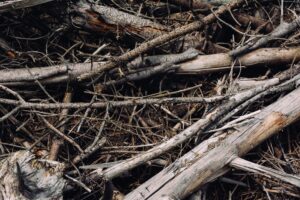
🪵 Principle #1: Dry Wood Lives Inside Wet Wood
In rain or snow, most of what you see is wet.
But the inside of branches and logs can still be dry.
Look for dead branches off the ground (leaning against trees is great)
Split thicker sticks to expose the dry inner core
Use the inner, lighter-colored wood for your kindling and first pieces of fuel
This principle is the backbone of all three methods below
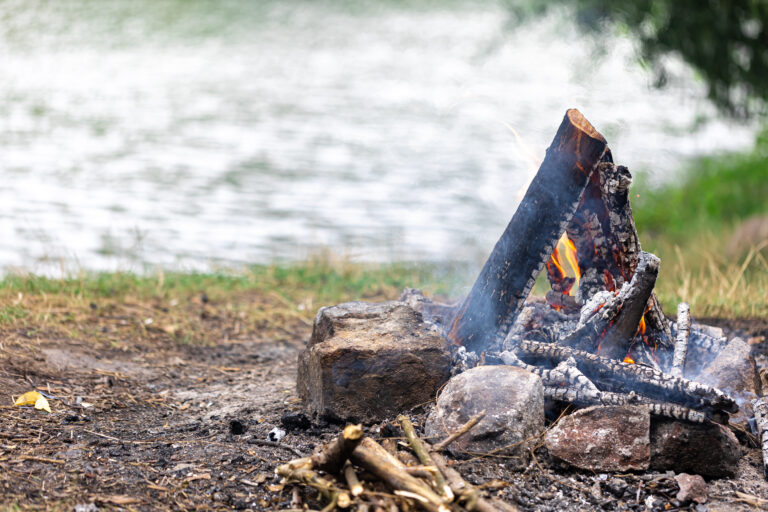
🔥 Method #1: The Wet-Weather Teepee Fire
Best for: General bad weather, light rain, damp conditions
Goal: Keep your tinder dry and funnel heat upward into your kindling
Step 1 – Prepare the Fire Site
Pick a spot out of the wind if possible (behind a rock, tree, or log).
Scrape down to bare soil, rock, or sand.
If the ground is soaked, lay down a few flat sticks or bark as a base.
Step 2 – Gather Three Wood Sizes
- Tinder:
- Cotton balls with petroleum jelly
Birch bark, dry grass, or wood shavings
Kindling (pencil-size sticks):
Dry inner wood from split branches
Fuel (thumb-to-wrist-thick sticks):
Also split if outer layer is wet
Make a big pile of kindling before you light anything. Running around searching after you spark the tinder is how fires die.
Step 3 – Build the Teepee
Place your tinder in the center of the fire site.
Arrange small kindling sticks around the tinder like a teepee, leaving a small opening where you’ll light it.
Lean slightly larger sticks around that first teepee, building a second layer.
The teepee shape:
Shields tinder from light rain
Channels heat and flames upward into the wood
Step 4 – Light the Fire
Use whatever ignition you have:
Lighter
Match
Sparks from a ferro rod (into cotton ball shreds or bark)
Once the tinder catches:
Gently feed more kindling as the flames grow
When the inner teepee is burning well, start adding larger fuel slowly
🔥Method #2: The Upside-Down Fire (Great in Wind)
Best for: Windy conditions, longer lasting fire
Goal: Build a fire that doesn’t collapse and smother itself
Instead of lighting kindling at the bottom and stacking wood on top, you reverse the order.
Step 1 – Base Layer (Largest Wood)
Lay 3–4 of your thickest pieces of wood side by side.
Add another layer on top, crosswise, like a log cabin.
Step 2 – Add Smaller Layers
On top of that, place smaller sticks (thumb-thick, then pencil-thick).
On the very top, place your kindling and tinder.
Step 3 – Light from the Top
Light your tinder on the very top.
The flames burn downward:
Small stuff lights first
Heat gradually ignites thicker wood underneath
Why it works:
The fire doesn’t collapse into its own ashes too early
In wind, the structure is more stable
You do less tending and feeding once it’s going

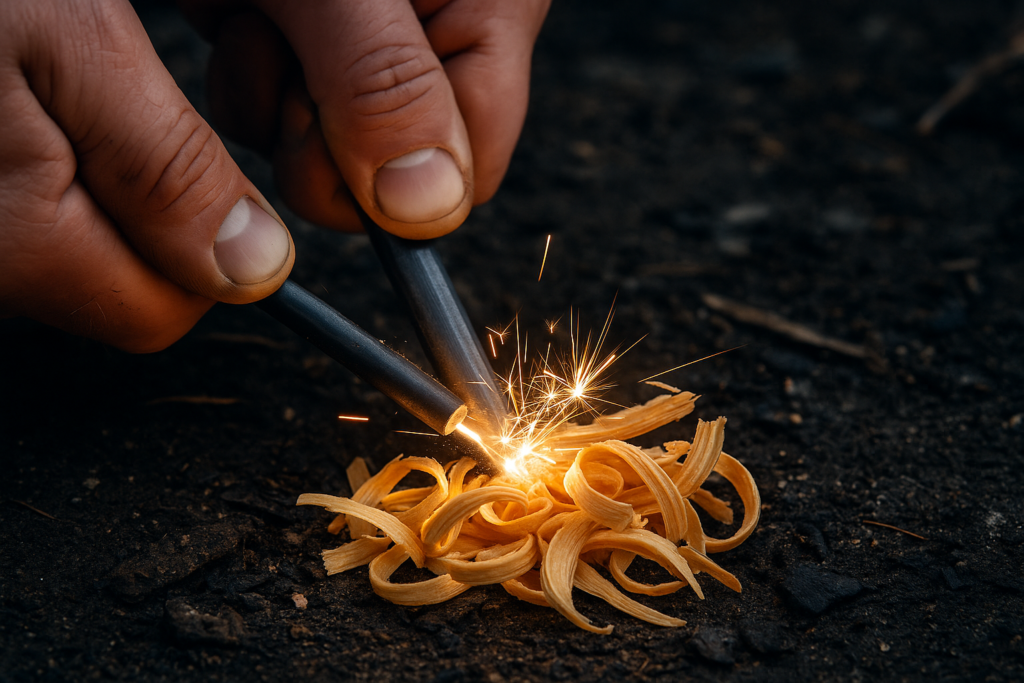
🌲 Method #3: Fatwood + Ferro Rod Emergency Fire
Best for: Very wet conditions, minimal gear, “oh crap” moments
Goal: Hot, resin-rich flame that fights moisture
Fatwood is wood saturated with resin (often from pine stumps or knots). It lights easily and burns hot — even when slightly damp.
Step 1 – Shave a Fatwood Pile
Take a piece of fatwood and your knife.
Use the spine or blade to create a small pile of thin shavings and curls.
Keep the pile tight and compact — that’s your “super tinder.”
Step 2 – Prepare Fine Kindling
Split small sticks into matchstick or pencil-thin pieces.
If the outside is wet, only use the dry inner core.
Step 3 – Use a Ferro Rod
Place the fatwood shavings in the center of your fire site.
Hold the ferro rod close to the pile.
Scrape down the rod strongly with the back of your knife or a striker, directing sparks into the shavings.
Once the shavings catch, add thin kindling slowly and protect the flame with your body or hands.
✅ Quick Weather-Proof Fire Checklist
Before you strike a spark, run this list in your head:
🔲 Do I have at least two ignition sources? (lighter + matches, ferro rod + lighter, etc.)
🔲 Is my tinder prepped and ready to light?
🔲 Do I have a big pile of kindling ready to go?
🔲 Did I split some wood to get dry inner pieces?
🔲 Is my fire site protected from wind and water as much as possible?
If you can say “yes” to those, your odds of success skyrocket.
🏕 Wrap-Up: Practice Before You Need It
The best time to learn this is not during an emergency.
Practice these three methods on a safe day:
Wet-Weather Teepee Fire
Upside-Down Wind-Resistant Fire
Fatwood + Ferro Rod Emergency Fire
The more you practice, the more automatic it becomes when the weather turns ugly.